Amy Hunter Photography - custom fine art pieces
|
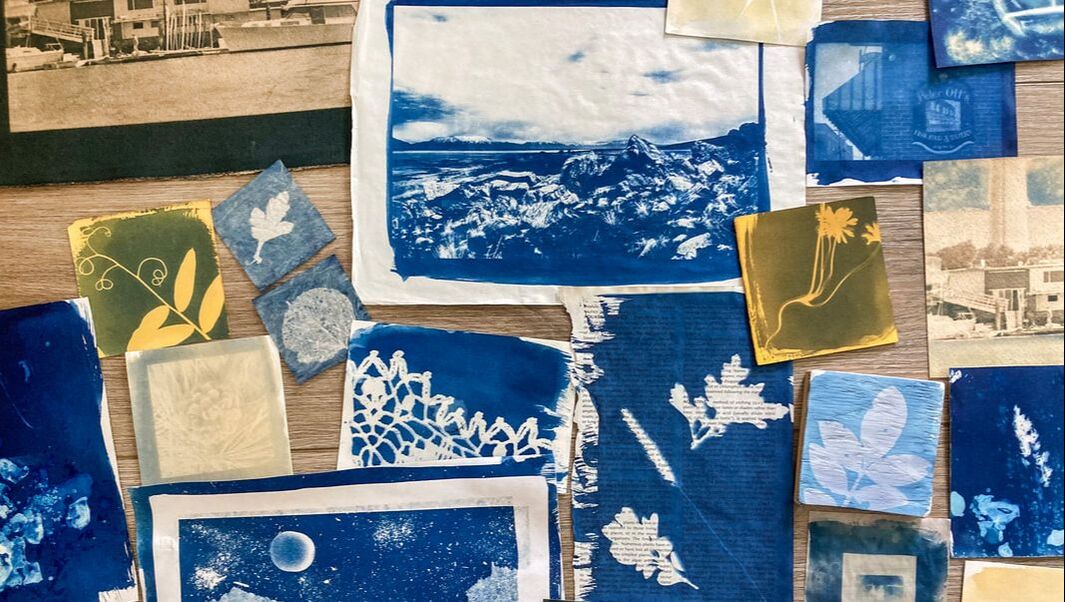
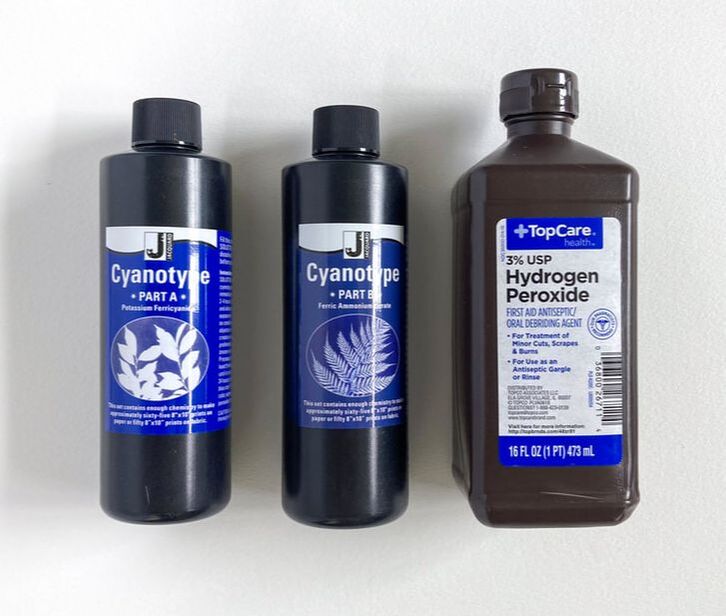
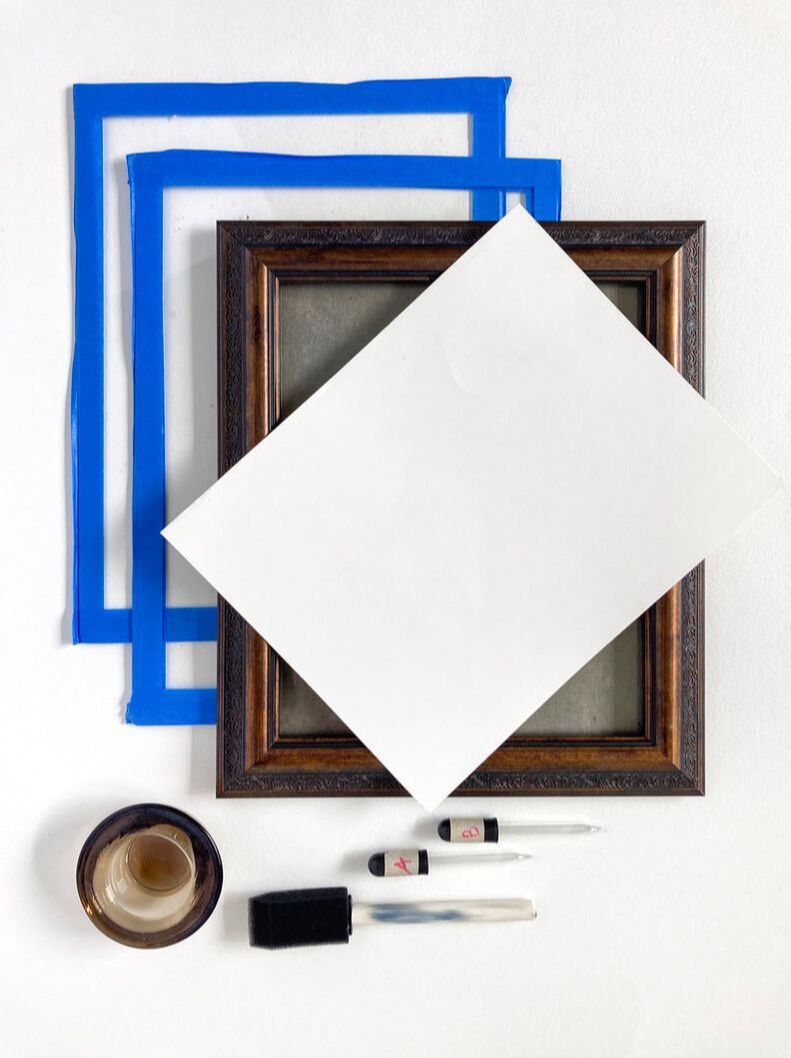
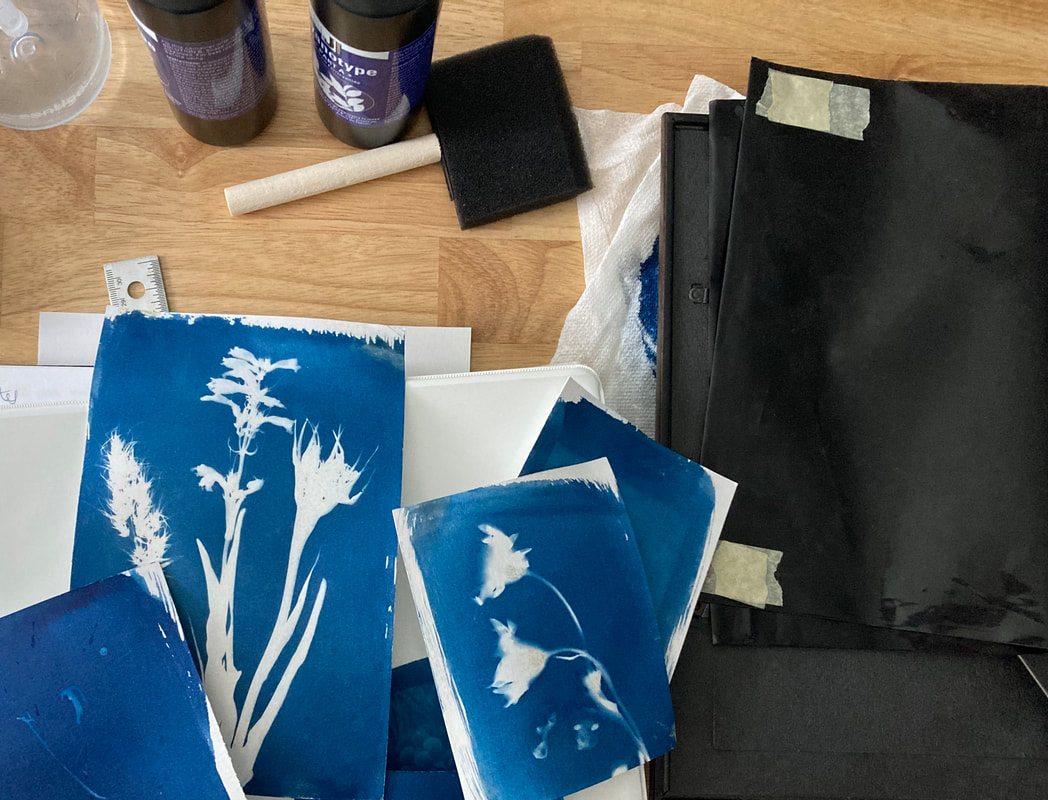
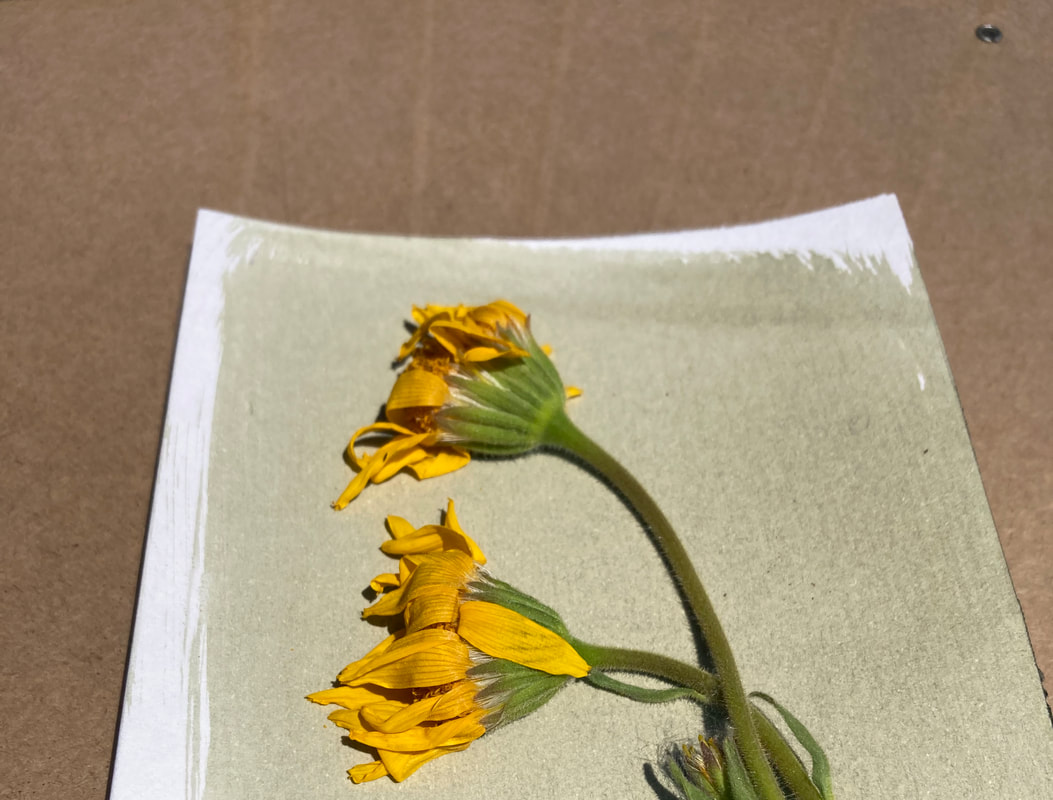
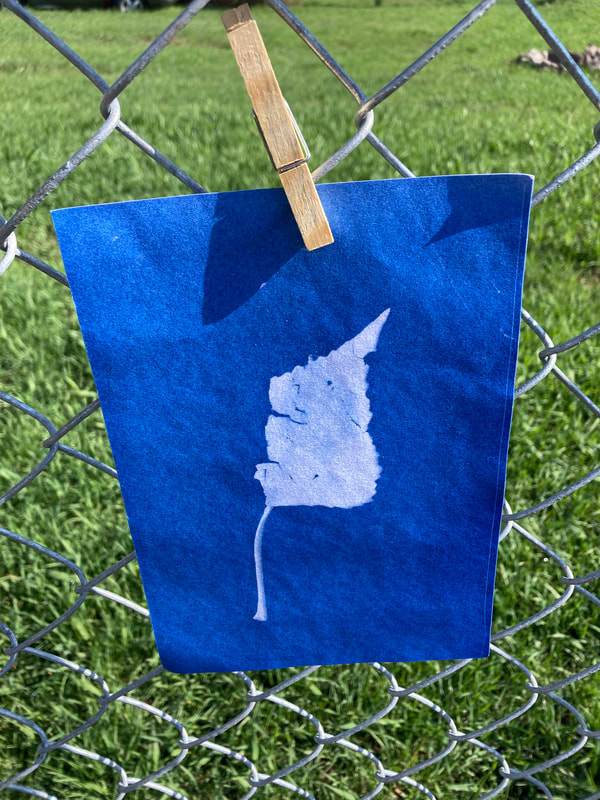
Cyanotypes have been around for quite a long time, like 1842 long time. Sir John Herschel and Anna Atkins are the two pioneers of this process and if you want to learn more about them, the internet is full of information about how they got started. But how can YOU get started? What I like most about cyanotypes is how easily accessible they are. It is one of the few photography processes that you don't need a darkroom for but you can still feel like you are a true film photographer. I have been doing cyanotypes off and on for over 10 years and while I do not claim to be an expert, I have learned a lot about this process. If you are just starting here is a supply list and basic printing instructions. Supply List: Cyanotype chemicals - Jaquard is a popular brand and probably the most accessible. You can find this at almost any craft store or you can get it directly from Amazon. Photographers Formulary from B&H Photo is also a great brand. Bostic and Sullivan is a site that carries a variety of alternative process chemicals and you can get some of them in granules that you mix with water yourself, including cyanotype. This can be useful because it holds a little bit longer shelf life. Besides the basic chemicals for cyanotypes, you will also need a bottle of hydrogen peroxide. This is what gives you the deep blue color tones. It doesn't need to be anything fancy, just your basic drugstore brands will work. Watercolor paper - Arches, Strathmore these brands all work well and I always say experiment with other brands too because you never know what you will be more attracted to. Some people like papers with a lot of texture, others don't. A general rule of thumb is a paper that is heavy enough to have a liquid applied to it and won't fall apart in water. Other than that, the sky is the limit! Paintbrush - I use disposable sponge brushes and I feel like they work really well. I have other brushes with more fine bristles that I have also used in the past and I have had great luck with them. Every once in a while I will see the actual brush strokes when applying the liquid but for the most part, I can get a pretty even smooth coat with a sponge brush. Frames - This also doesn't need to be anything fancy. Any old picture frame that you have around your house will work. The idea is to sandwich your negative/plant against your paper so that it won't move around. In the past, I've used a piece of cardboard and a piece of glass that I clamp together, other times I've used two pieces of glass and clamped those together with my materials in the middle. Plexiglass also works well, (that is what I use with my little kids), but they get messier faster and can scratch which might show up on your prints. Thrift stores or yard sales are great places to find old frames for cheap if you don't have any on hand to use. Washing trays - Not everyone has nice washing trays for their photography chemicals. Don't worry, you could use lots of different things for washing trays. I've used old Tupperware trays, metal pans, or anything that can hold water and is relatively flat will work. HOWEVER, DO NOT USE THESE TRAYS TO EAT WITH AFTER! Did I say that loud enough? Although cyanotypes are non-toxic, it's best to set something aside that can be used solely for your cyanotypes and nothing else. Mixing container - This is usually something small that you will be mixing your cyanotype chemicals together in. I've used small glass candle holders like the ones here. Shot glasses also work really well. Again, your local thrift store or yard sale would be a great place to locate these. Glass does seem to work best when pouring and for cleaning so you don't have the chemicals seeping into a plastic material. Eye droppers - Again, not a must but they make measuring out the chemicals easier, especially if you are coating one or two papers at a time. There are other options for measuring liquids that you can use, like small glass beakers or graduated cylinders. When mixing the chemicals you need to have the same amounts of both part A and B, so a measuring device of some kind is necessary. I recommend glass for this as well. Light-tight black bag - This will be used to store your papers in after they have been coated but before they are processed. I've been using my black bags from my darkroom days in college. I have searched for them online and have found a few options through Adorama and B&H. I'm sure there are more sites out there that sell them but if you can't find them or don't want to buy them you could put your paper in any kind of box or storage bin that is dark and completely light-tight. Other materials that can be good to have on hand include paper towels, vinyl gloves, and possibly some butcher paper or craft paper to cover the surface you will be working on. Printing Process: Now that you have your supplies you are ready to coat your papers. This is best done in a light-tight room or a room with a small window that can be covered with a dark curtain or cloth. I often use my bathroom for this. Unlike other darkroom processes, you don't have to be in complete darkness while coating papers. You can use a red light or even a small tungsten light on the opposite side of the room. I have a red head lamp that I use while coating the papers and once I have everything coated I turn off the light and leave the room while things dry. Cyanotypes always have two components that you mix together with a 1:1 ratio. This is where you use your eye droppers or measuring devices to measure the same amount for your part A and part B. Once you have mixed them together you pour them directly on your paper. This allows for a more even coat with less contamination from dipping the brush back and forth. Spread the liquid evenly with your brush and then set aside to dry. Once your papers are completely dry put them in a black bag to protect them from daylight. Setting up your printing area is quite simple. Fill two trays with water for the rinsing baths and add about a tablespoon of hydrogen peroxide to one of the trays. I have found that the amount of peroxide doesn't need to be a lot at all and I rarely measure it, I just dump some in. Next, I make sure I have my frames ready to go with whatever I will be printing with, either digital negatives or plants and objects. You are ready to start printing! Carefully and quickly take out your paper from the black bag and place your printing material on top of the coated side of the paper. Place both objects in your frames, making sure they are secure and set them in direct sunlight. The amount of time you set your object in the sun for can vary quite a bit. If I am using a plant I typically set it in the sun for somewhere between 5-8 minutes. If I am using a digital negative then I make a test strip, the same as you would in any other darkroom process, and check to see what time gives me the desired result. I always experiment with different times until I get what I think is the best. Also, note that times will vary depending on the time of day as well as the time of year. Summer light and winter light are different as well as morning light vs evening light. You can get as nitty-gritty with this as you want. I always bring a notebook with me to make a few quick notes in case I need to re-create any prints at a different time. If you happen to be printing and a huge cloud covers your print allow for more time to compensate for the cloud's shadow. Once your paper has been exposed for a good amount of time take your paper out and put it in the tray with only water for the first wash. Agitate the water for about a minute or until there isn't any more yellow water dripping off the print. You can be finished at this point, but if you want those deep blue colors to really stand out then place it in the water and hydrogen peroxide bath for another 1-2 minutes. To dry your prints you can hang them up on a makeshift cloths line or place them on a paper towel. I have a chain link fence in my backyard and I often take clothespins and attach them there to dry. Ta-da! That's pretty much it! This is the most basic process for how to make a cyanotype. There are tons of different materials that you can print on besides paper, as well as many different ways to bleach or tone your prints after they have been processed. One day I might delve more into those but for now, I hope you have fun getting started on making cyanotypes! This post contains affiliate links, which means I may receive a small commission, at no cost to you, if you make a purchase through a link.
0 Comments
Your comment will be posted after it is approved.
Leave a Reply. |
Oh Hey! it's me, AmyThese are stories about my art, experiences I've had in my career, and some other fun stuff too. I will probably overshare, sometimes I can't help it. Enjoy! Archives
June 2024
Categories |
Proudly powered by Weebly

 RSS Feed